Using Your Own Domain for Safe, Legal Practice
When people think about bug bounty hunting, they often assume Linux is required.
In reality, what matters is understanding how systems work — not the operating system.
PowerShell is a powerful, built-in automation and networking tool available on Windows. When used correctly, it allows you to explore how websites behave, how HTTP works, and how reconnaissance is performed — all legally and responsibly.
In this article, we will walk through PowerShell basics for bug bounty hunters, using your own domain (temphack.org) as a safe training target.
Why Use Your Own Domain?
Before learning any security testing techniques, it is critical to understand where you are allowed to test.
Using your own domain means:
- You are legally authorized
- You can test freely without risk
- You can repeat experiments safely
- You learn without shortcuts
Bug bounty is not about “trying things everywhere”.
It is about controlled, ethical exploration.
What PowerShell Is (From a Bug Bounty Perspective)
PowerShell is not just an administration shell. For bug bounty hunters, it can be used to:
- Send HTTP requests
- Inspect responses and headers
- Measure timing and behavior
- Automate reconnaissance tasks
- Build custom testing scripts
This makes PowerShell ideal for learning how applications actually respond to input.
Step 1: Basic Domain Reconnaissance
We start by understanding where our domain resolves.
Resolve DNS Records
Resolve-DnsName temphack.orgThis shows:
- IP addresses
- Record types
- DNS resolution behavior
For a cleaner view:
Resolve-DnsName temphack.org -Type AThis step mirrors what many bug bounty hunters do first: understand the target’s infrastructure at a basic level.
Step 2: Making Your First HTTP Request
Now we interact with the web application itself.
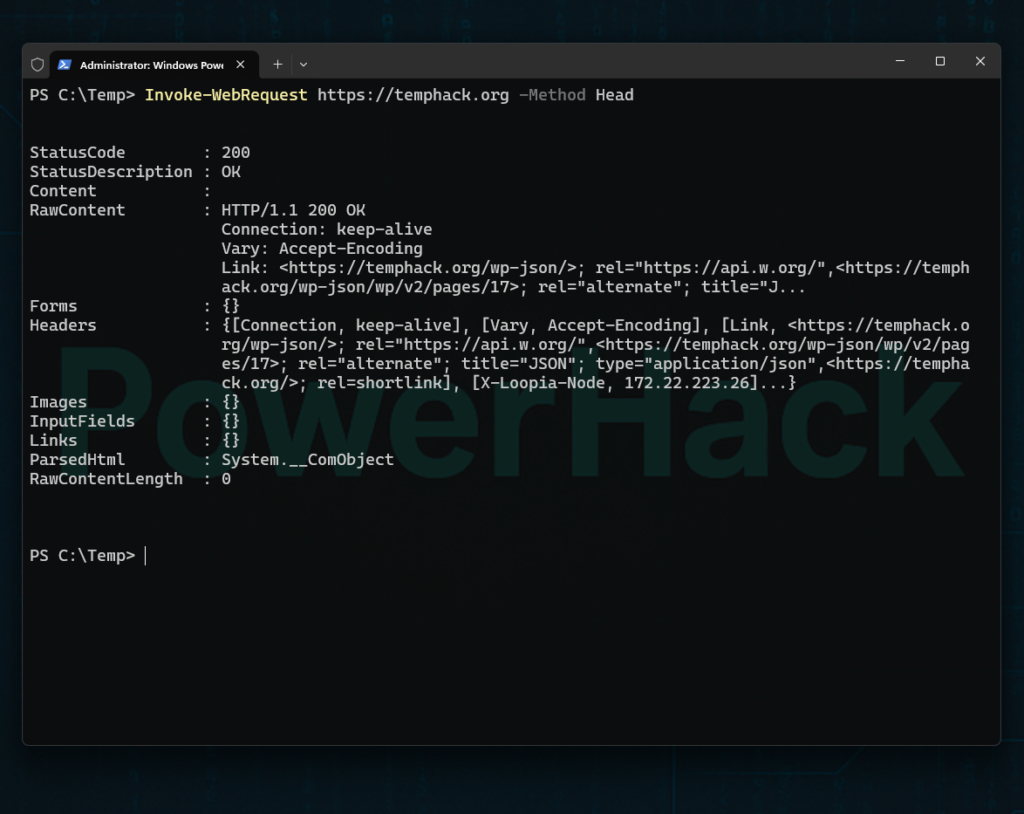
Basic GET Request
Invoke-WebRequest https://temphack.orgThis retrieves:
- Page content
- HTTP headers
- Status codes
PowerShell gives you far more visibility than a browser alone.
Step 3: Inspecting HTTP Headers
Headers often reveal:
- Server configuration
- Security controls
- Redirect behavior
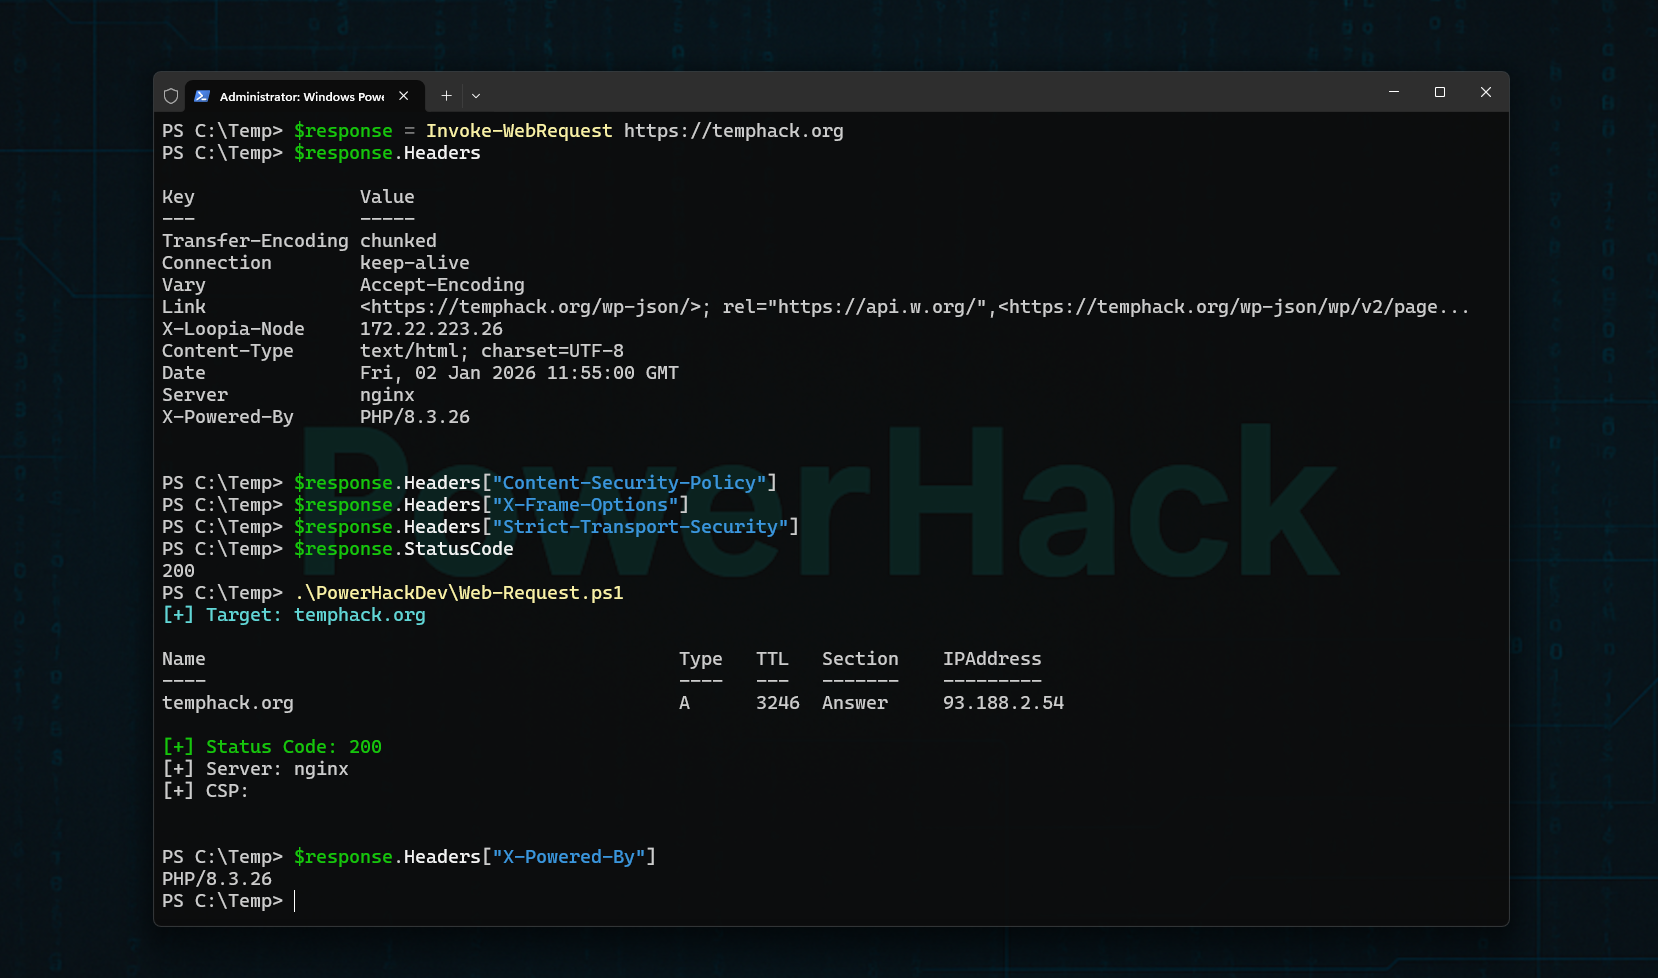
Store the Response
$response = Invoke-WebRequest https://temphack.orgView All Headers
$response.HeadersThis is foundational bug bounty knowledge. Many vulnerabilities start with what the server tells you.
Step 4: Checking Security Headers
Security headers are a core defensive layer.
$response.Headers["Content-Security-Policy"]
$response.Headers["X-Frame-Options"]
$response.Headers["Strict-Transport-Security"]Understanding what these headers do — and when they are missing or misconfigured — is essential before learning any exploitation techniques.
Step 5: Understanding Status Codes and Redirects
Applications often behave differently depending on requests.
Check Status Code
$response.StatusCodeFollow Redirects
Invoke-WebRequest https://temphack.org -MaximumRedirection 10Bug bounty hunters pay close attention to unexpected redirects and response behavior.
Step 6: Testing URL Parameters (Safely)
Parameters are the foundation of many vulnerabilities — but first, you must understand how they work.
Invoke-WebRequest "https://temphack.org/?test=temphack"At this stage, you are not exploiting anything.
You are simply learning how applications receive input.
Step 7: Measuring Response Timing
Timing can reveal:
- Backend behavior
- Performance differences
- Hidden processing
Measure-Command {
    Invoke-WebRequest https://temphack.org
}Even basic timing awareness becomes important later when learning about more advanced bug classes.
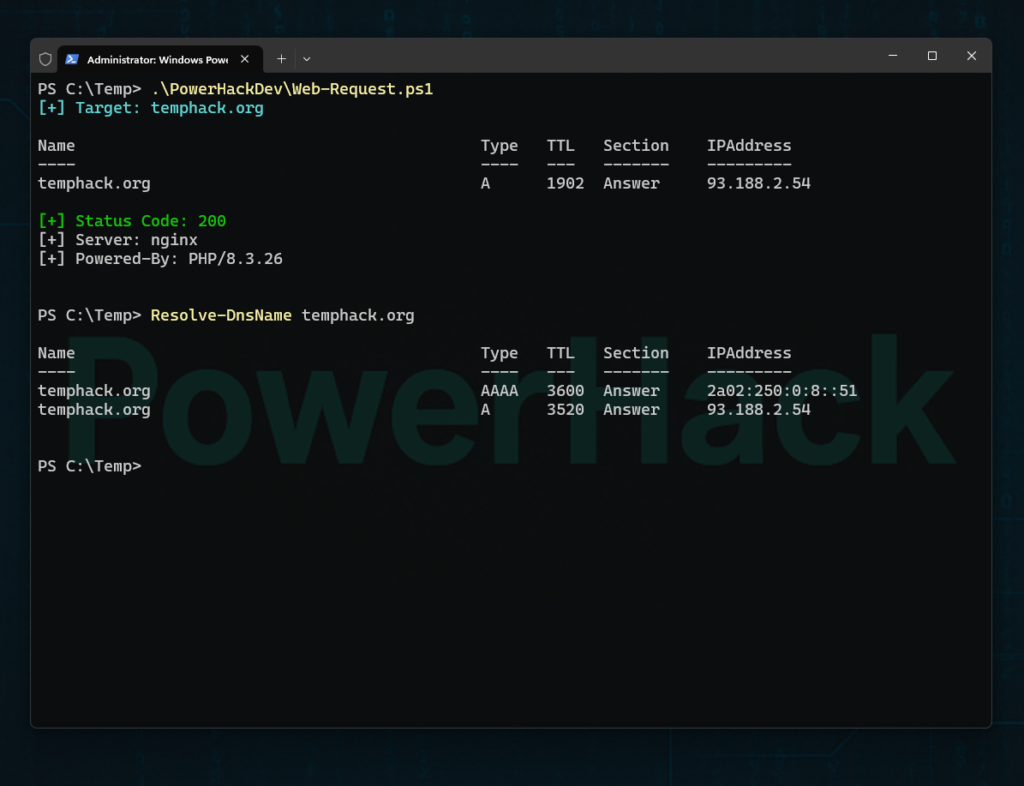
Step 8: A Simple PowerHack-Style Recon Script
This small script demonstrates the PowerHack philosophy: understand first, automate second.
$domain = "temphack.org"

Write-Host "[+] Target:" $domain -ForegroundColor Cyan

Resolve-DnsName $domain -Type A

$response = Invoke-WebRequest "https://$domain"

Write-Host "`n[+] Status Code:" $response.StatusCode -ForegroundColor Green
Write-Host "[+] Server:" $response.Headers["Server"]
Write-Host "[+] CSP:" $response.Headers["Content-Security-Policy"]This is not about speed.
It is about clarity, control, and understanding.
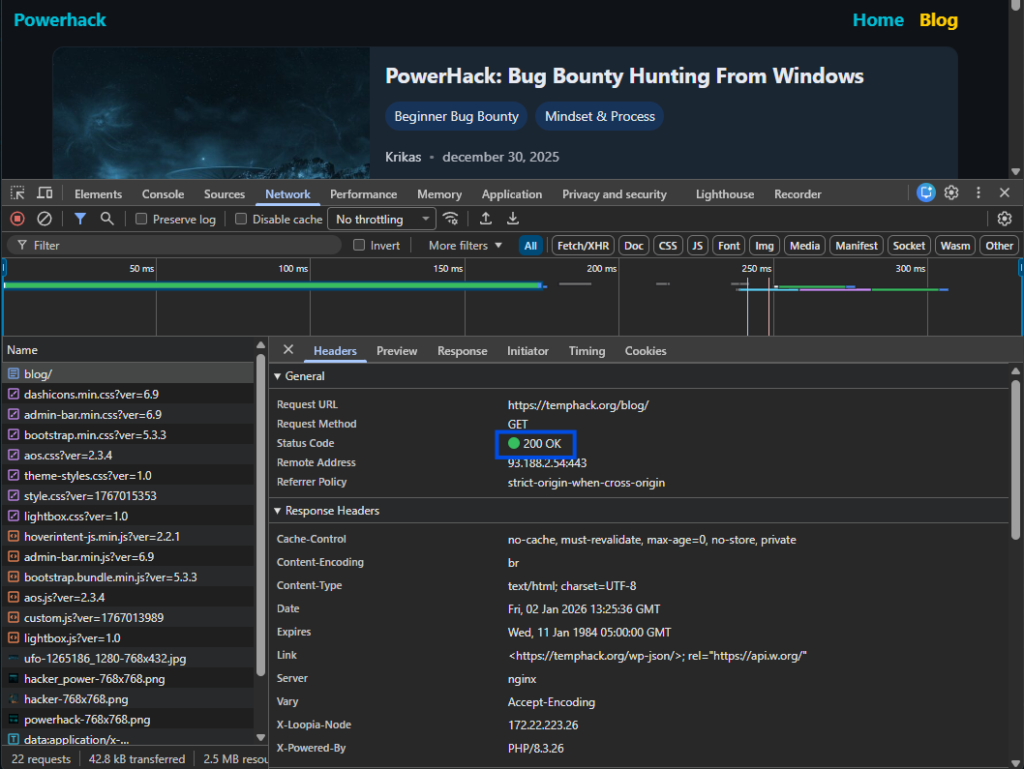
A powerful learning method is to:
- Observe a request in browser DevTools (Network tab)
- Recreate the same request in PowerShell
- Compare responses
This builds a deep understanding of how browsers and servers communicate.
Common Beginner Mistakes to Avoid
- Testing domains you do not own
- Jumping straight to payloads
- Overusing automated tools
- Ignoring HTTP fundamentals
- Chasing “critical bugs” too early
Bug bounty rewards methodical learners, not reckless testers.
Final Thoughts
PowerShell is not a limitation — it is a powerful learning platform.
By using your own domain:
- You learn legally
- You build real skills
- You develop confidence
- You avoid bad habits
Bug bounty hunting starts with understanding systems, not breaking them.
What’s Next?
In upcoming articles, we will cover:
- Understanding HTTP requests in depth
- Reconnaissance methodologies for beginners
- Turning manual tests into PowerHack scripts
- Moving from your own domain to real bug bounty programs
If you want to learn bug bounty the right way, you are in the right place.